Showing posts with label Origami. Show all posts

Sunday, October 14, 2012

Halloween Kusudama Flowers


Machine Used: BossKut Gazelle
Software: Funtime Scrapbooking III
Files Used: Spider Wed provided during a BossKut Challenge by Jules
Materials: Origami paper, contact paper, bead spiders

I just LOVE making kusudama flowers!!  They're so much fun and I'm always looking for ways to create them in the image of the currently season or holiday.

For these, I chose to use black origami paper that I purchased from Paper Jade.  Then using the spider web provided by Jules at the Gazelle Owner's Forum during a challenge, I cut the spider web in quarters.

After using the multiple option in Funtime, I filled my workspace with spider webs to then cut with my Gazelle.

I chose to use contact paper (what you can use to line the shelves in your pantry) instead of vinyl.  It's much cheaper and I personally think it looks just as nice.  The other benefit is that contact paper seems thinner to me and add less weight to the thin origami paper.


I folded each of the squares in half before applying the spider webs.

Using dry wall tape (made it easier to see where I was putting the contact paper) I transferred the web to the corner of the origami paper.


I felt, that you can't have a spider web without the spider!!  Soooo, after searching for ideas I came across a tutorial on how to create a bead spider.  I alternated it some by adding the floral stem to the body of the spider so that he was attached directly to the flower.


Here you can see the single bead and the bead spider that I build my flower around.


Here are a couple close-ups of the flowers.  One with the spider bead attached and one with a single bead.

 
For more information on assembling the flowers, please check out this tutorial.

For more information on making your own bead spider, I found this tutorial very helpful.

Thanks for looking!!
*´¨)
¸.•´¸.•*´¨) ¸.•*¨)
(¸.•´ (¸.•` ¤ Jamie*´¨)

Friday, October 12, 2012

Thinking of You Card and Kusudama Bouquet


Machine Used: BossKut Gazelle
Software: Funtime Scrapbooking III
Files Used: Pop-Kut Butterfly Border by Judy Stark BKD152, Ruffled Butterfly by Judy Stark BKD105
Materials: Cardstock, ribbon, shank style buttons, stem wire, rhinestone
Challenges: The Outlawz Paper a la Mode - Thinking of You

It doesn't matter what time of year it is or what holidays are around the bend, sometimes you just need to let someone you know that you're thinking about them.  For this project I wanted to send a very special someone a handmade card and a bouquet of flowers that she's mentioned she likes.  :o)

With the new Pop-Kut Butterfly Border available, I just knew that I needed to use it!  It's absolutely adorable and sure to put a smile on any one's face!  With the one on this card, I added some color on part of the wings and some glitter.


I don't have a large collection of stamps with just the right sentiments but the print and cut option, it's really easy to say just the right thing.  In Funtime, I create the sentiment, with the fonts and colors I like and simply cut the shape around it!

 
I wrapped some thick ribbon around my card and using pop dots attached the sentiment.


With the Ruffled Butterfly, I added some glitter on the pop kuts of the wings and a rhinestone on the head.  In order to incorporate it into the bouquet, I used a floral stem wire and glued that between the the 2 pieces.  A simple addition to the bouquet that really makes it!!

A simple card and a bouquet of handmade flowers are now on their way to brighten the day of one very special woman!

Thanks for looking!!
*´¨)
¸.•´¸.•*´¨) ¸.•*¨)
(¸.•´ (¸.•` ¤ Jamie*´¨)
BossKut Design Team Member

For more projects and information, please click links below:
BossKut Gazelle Blog
BossKut Company Blog

Saturday, August 18, 2012

Dragonfly Kusudama Flowers


Machine Used: Boss Kut Gazelle
Software: Funtime Scrapbooking III
Files Used: Pop-Kut Dragonfly by Judy Stark BKD109
Materials: Cardstock

I absolutely LOVE the Pop Kuts available through Bosskut Die Cuts!!  Another one of my favorite projects includes origami.  Having wanted to find a way to incorporate the 2 together, I was finally able to work my through using the tools available in Funtime to get the look I wanted.

With the help from the video, Using the Edit Tools, I was able to edit the Pop Kut Dragonfly so that it would still be attached to the paper that I needed to fold for each of the pedals of the Kusudama flower.  First I started by creating a border around the Pop Kut dragonfly.  Then I created a square and placed the dragonfly at a corner.  Using the scissors in the edit tools, I cut where I needed and reattached in other places.  I will honestly admit that this took some trial and error until I finally got what I was looking for.  In the end, I'm very happy with how they turned out and I look forward to making more!!


Another, easier option was to first assemble the Kusudama flower and cut out the dragonfly separately.  I then attached the dragonfly to the Kusudama flower and am ready to make more for a complete bouquet!!


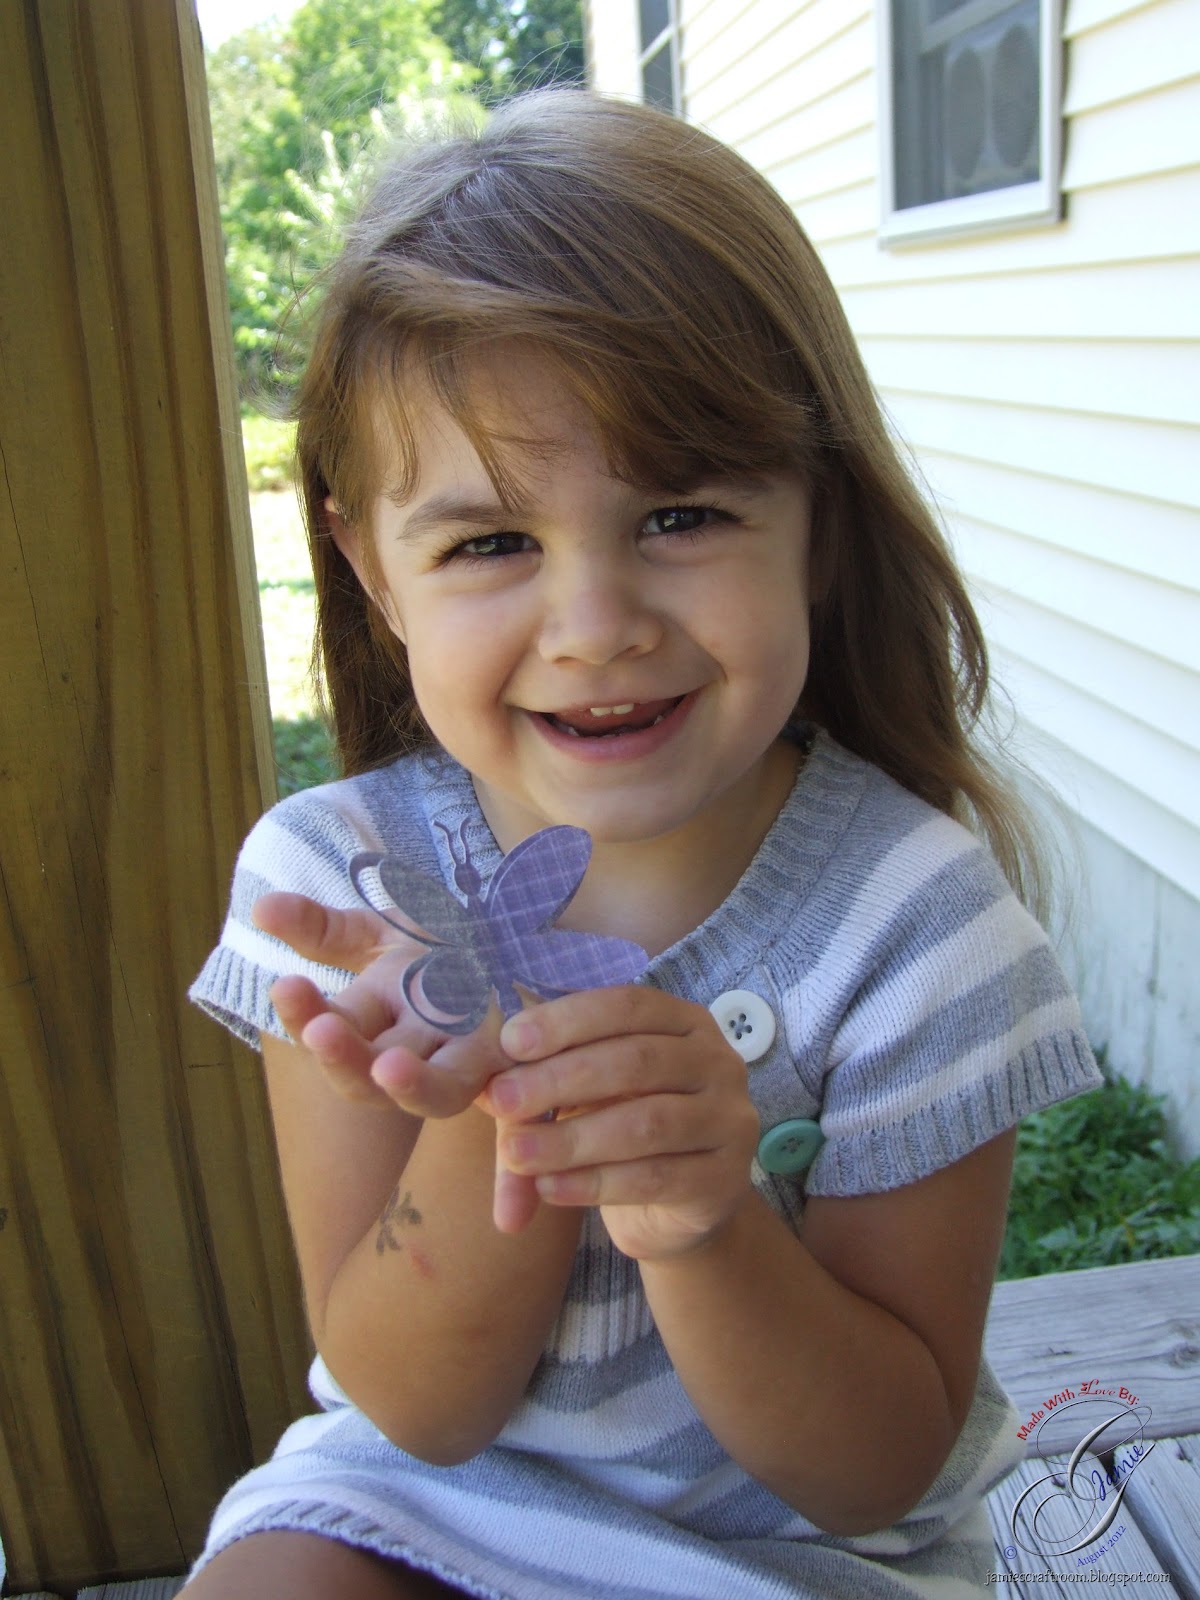
Just for fun, whenever my daughter sees me working on a project I always end up with A LOT of "help" :o).  When she saw the dragonfly, of  course she wanted one too BUT it had to be in purple!  So I let her pick out the paper and we made her one just for her.


Thanks for looking!!
*´¨)
¸.•´¸.•*´¨) ¸.•*¨)
(¸.•´ (¸.•` ¤ Jamie *´¨)
Bosskut Design Team Member

Monday, June 11, 2012

Completed Kusudama Bridal Bouquets


To create these beautiful Kusudama Bridal bouquets I started out following one of these 2 websites that show you the process in folding each pedal of the flowers:
Then on 05 April 2012 I posted this tutorial on how I attached the stems to the flowers.

On 27 May 2012, I shared how I created a bouquet out of all the stemed Kusudama flowers.

To complete the look of the bridal bouquets, on 10 June 2012 I explained how I decorated the bouquets by adding fuller with tulle and wrapped the stems with ribbon.


This is the Bride's bouquet.  It consists of 50 Kusudama flowers and tulle with added embellishments.  There are 3 different size flowers, assembled from 3", 4", and 4.6" squares.


For some additional personalization I made some flowers with "sentiments" that are special to the couple.


The first 3 bouquets are for the Bridesmaids.  They are made up of 25 flowers, assembled from 3", 4", and 4.6" squares.


Here's picture of the stem of one of the Bridesmaid bouquet.


The bouquet on the left is the Junior Bridesmaid bouquet and the one on the right is one of the Bridesmaid bouquets.


The Junior Bridesmaid bouquet is made from 25 flowers all assembled from 3" squares.

This is by far the most extensive crafting project I have done but definitely the most rewarding.  I'll admit there were times when I dreaded having to fold another piece of paper but I am VERY pleased with the results!!

Once my hands have recovered from all the folding, gluing, steming, and wrapping, I have so many ideas for these beautiful flowers!!  First off, I'm definitely going to try my hand at making a Kusudama ball.  :o)

Thanks for looking!!
*´¨)
¸.•´¸.•*´¨) ¸.•*¨)
(¸.•´ (¸.•` ¤ Jamie *´¨)

Sunday, June 10, 2012

Decorating a Bridal Kusudama Bouquet


Materials:  Tulle, Wire Cutters, Ribbon

After I wrapped the stems, as I show on this post, I cut the stems leaving a 4-5 inch handle for the bouquet.


I added some tulle between the flowers as filler,  I personally feel that this gave the flowers a completed look.


First I used my Mickey Mouse paper towel holder and put the tulle on it (hey, you work with what you got!!  :o)).  For the junior bridesmaid and bridesmaid I used plain white 6" tulle. Then taking one end, I put it into the bouquet and slowly wove the tulle in between and around the flowers.  Time consuming and a tedious task but, in my opinion, definitely worth it!!  With the Bride's bouquet I choose a tulle that was decorated with rhinestones and pearls.


Then I added some hot glue the end of the stem and putting the ribbon at an angle started wrapping the stem.  I should note here that before I started wrapping the stem, I folded up the ribbon that was at the bottom so that the ribbon "capped" the stems.

As I went up the stems, I would pull the ribbon tight and periodically add more hot glue.

Using a thinner ribbon and my dearest husbands assistance (he had to hold the bouquet for this part), I criss crossed the ribbon up to the top.  I did make sure to add small amounts of hot glue to the ribbon as I worked my way to the top.  At the top I tied the ribbon in a knot and made sure to leave some ribbon to hang down.

Well, as you can see from the top picture I have finally completed all the bouquets for my sisters wedding <sigh>.  I am looking forward to posting additional pictures of all her bouquets just as soon as I have her OK (which may or may not be after her wedding).

Thanks for looking!!
*´¨)
¸.•´¸.•*´¨) ¸.•*¨)
(¸.•´ (¸.•` ¤ Jamie *´¨)

Sunday, May 27, 2012

Very Basic Kusudama Bouquet


 Materials: 1/2 inch Floral Stem Wrap Tape, 24 Stemed Kusudama Flowers

Here's my first attempt at creating a bouquet that will be used in a wedding.  This particular bouquet will eventually be the property of my beautiful niece.  I decided to start with this one because it is the smallest bouquet that I will be assembling and therefore I felt that it would be the easiest.

For information on how I stemed my Kusudama flowers, please check out this previous blog entry.

To start I took 3 flowers that will be the center of the bouquet and arranged them the best I could as I wanted them to appear in the final bouquet.


With the floral stem tape, I started wrapping it around the 3 stems.  After having it secured tightly, I added 3 more flowers and wrapped the stems again.  I went back a forth between adding 3-4 flowers at a time to wrapping the stems until I had all the flowers in the bouquet that I wanted.


Once completed, I had about 4 inches on the stems of the flowers that was wrapped.  I may have not needed to wrap that much but my fear was that while I was wrapping that I would end up with a thick area of the stem because of the tape.  Fortunately the tape was thin that it wasn't going to be a problem.


The next step will be adding some filler in with the flowers and trimming off the excess stems.  Then I'll make sure to wrap some ribbon around the stems.

As I continue to learn and make progress with making the Kusudama bridal bouquets, I'll be posting additional tutorials as well as the final product.

Click here for the Completed Kusudama Bridal Bouquets from my sister's wedding.
Thanks for looking!!
*´¨)
¸.•´¸.•*´¨) ¸.•*¨)
(¸.•´ (¸.•` ¤ Jamie *´¨)

Monday, April 9, 2012

Kusudama Easter Basket


Materials: Kusudama flowers, glass Easter basket, tissue paper, paper Easter grass, floral stryofoam

Using the kusudama flowers that I made in this post, I decided to assemble the flowers in a glass Easter basket that I found at the last minute.

I started by wrapping floral styrofoam in tissue paper and put it in the basket.  Then cut the kusudama flower stems down to the length I wanted, arranged them in the styrofoam.  Topped it off with some paper Easter grass.

DISCLAIMER:  I am NOT a florist!!  :o)  This was my first attempt at arranging flowers this way.  I learned a lot of how I would go about it differently and I'm already looking forward to the opportunity!!  This will HELP A LOT in arranging the flowers for the flower girl baskets I will be making for my sister's wedding!!


Thanks for looking!!
*´¨)
¸.•´¸.•*´¨) ¸.•*¨)
(¸.•´ (¸.•` ¤ Jamie *´¨)

Thursday, April 5, 2012

Kusudama Flower Bouquet Assembly


Materials:  4.6 squares of scrapbooking paper, buttons, 20 gauge white cloth stem wire

I've been VERY busy assembling Kusudama flowers for my sister's wedding.  My best guesstimate (that IS a technical term by the way! ) is that I'm going to need about 200 flowers for 1 bridal bouquet, 3 bridesmaids bouquets, and 3 flower girl baskets.  With 5 pedals per flower (which have to be folded separately) that's about 1,000 individual pedals.  So, back to the first sentence . . . I've been VERY busy assembling Kusudama flowers for my sister's wedding.

For practice, I've decided to make some bouquets for my dinner table for Easter.


Here are the flowers that I've already assembled for this project.  I don't feel that the pictures do them any justice.  I am so happy with how they've turned out!!  The scrapbooking paper I used had beautiful designs all over it and I love the way that it showed up in the flowers.

Using these 2 websites I've easily learned how to fold and assemble the actual flowers:
Origami Kusudama Flowers
Kusudama Tutorial


After I have the flowers made, I get the 20 gauge white cloth stem wire and wrap the end around a pair of needle nose pliers.  This made it easier for me to wrap the wire around the button.


I thread the 20 gauge flower wire through the shank style button.

(NOTE: I chose the shank attachment style that way I could easily hide the flower wire)  Then I wrap the wire around itself so that it would be easier to tuck into the top of the flower.

Using a low heat hot glue gun, I first put some glue on the wire below the button and slid the wire down so that the button was resting on top where I wanted it. Then I added another small amount of glue to the bottom of the flower against the wire. I have seen a tutorial where she just applied glue to the bottom of the flower but I wanted to make sure that the button would stay where I wanted it.


Here's a single flower finished.

On a personal note: I decided to try buttons in place of beads (something that I've seen A LOT of other crafters use), for several reasons.  One was I wanted to be able to hide the stem wire, another was the options!!!  There are so many adorable buttons and I feel this allowed me another option to further customize a flower.  In the pictures below, if you look closely, you'll see that I used 2 different type of buttons.  One was the white pearl rabbit and the other are flowers.


Although all I've done here is assembled the flowers in a "vase" (hey, it was all I had that the opening was small enough to give me the look I wanted  :o)), for my sister's bridal flowers I will be making actual hand held bouquets.  I will also be making the bouquet tighter and adding some tulle as filler.  After the wedding in June, I will be sure to post pictures and directions on how I assembled them.


Check out this link (Very Basic Kusudama Bouquet) to see how I wrapped the stems for a hand held bouquet.

Follow this link here to see the Completed Kusudama Bridal Bouquets from my sister's wedding.

Thanks for looking!!
*´¨)
¸.•´¸.•*´¨) ¸.•*¨)
(¸.•´ (¸.•` ¤ Jamie *´¨)

Sunday, March 18, 2012

Easter Baskets


Machine Used: Boss Kut Gazelle
Software: Funtime Scrapbooking III
Files Used: Bunny Peeker by Lisa Schmidt 0302, Chick Peeker by Lisa Schmidt 0303, Bunny Egg by Judy Stark BKD 094, Egg Blank 0642
Materials: Cardstock, Blue Brads, Silver Brads

I started out making origami baskets in various sizes; 6x6, 8x8, and 10x10.  A tutorial for these origami baskets can be found at this website.  I just omitted making the handle of paper and choose to use ribbon or a Boss Kut diecut in place of their suggested handle.


For the 6x6 baskets I used the Bunny Peeker by Lisa Schmidt 0302 and Chick Peeker by Lisa Schmidt 0303.  I also cut a 6 inch piece of ribbon and secured it to the basket with a brad.  These peekers are absolutely adorable!!  More of them can be found at the Boss Kut Designs website here.  They piece together beautifully and the possibilites with them are endless!


On the 8x8 basket, I used the Egg Blank 0642 and created a name ornament using the tutorial located at the Boss Kut Training website here.  An easy and creative way to personalize the Easter basket!!  Again, I simply used a piece of ribbon and secured it to the basket with a brad.

I LOVE the training website and the additional support available at the Gazelle Owner's Forum!  Everyone is always very helpful and friendly!


With the 10x10 basket, I used the Bunny Egg by Judy Stark BKD 094 as the handle and secured it to the basket using brads.  Using Funtime Scrapbooking III, I took the background of the Bunny Egg and duplicated it.  Then with one of the backgrounds I rotated it so that it was upside down and welded it to the other background.  This is what I used for the handle of the basket.  The detail in this die cut is beautiful and I chose to use a vinyl blade giving me a nice clean and precise cut!

Now, I just need to decide what ones I'm going to make for my daughter's dance class . . . decisions, decisions, decisions!!!  :o)

Make sure to take some time to check out the other GREAT projects created by the Bosskut Design Team at the Bosskut Blog.

Thanks for looking!!
*´¨)
¸.•´¸.•*´¨) ¸.•*¨)
(¸.•´ (¸.•` ¤ Jamie *´¨)

Sunday, March 4, 2012

Kusudama Flowers


Materials: 3", 4", 5", and 6" square pieces of paper, thin flower wire, beads

Yesterday was crazy here!!  We woke up to no power, 18 inches of heavy wet snow and no sign of it stopping.  The power was off for about 14 hours and boy did our house get chilly.  My babies and I layered up and ran around the house playing to keep warm, we actually had A LOT of fun!

At nap time, I obviously couldn't play with my Gazelle or work on any projects that required her.  :o(  I wasn't so easily put off on crafting though.  I've been playing a little with origami and I've really enjoyed making kusudama flowers.  I LOVE the idea of them and the possibilities!!

Instead of sending purchased flowers, I can now make them and send send those.  The same philosophy I put into card making I can now put into sending flowers.  Adding my own personal touch and the person who receives them will know that I put my heart into something JUST for them!

I first saw these flowers when a friend I know made them as her bridal bouquet.  I'm still so very much impressed with what she did with it!  After talking to her, I did a little research and used this website to teach myself how to make them.

For future reference I made 4 different sizes (obviously using different size paper squares) and labelled them with the size square I used.  The other 2 were mainly for fun to see what using different paper looked like and adding a bead to the center.


My dearest sister-in-law has asked me to make her wedding invitations and flowers.  I of course suggested the kusudama flower bouquet and she seemed to really like the idea.  So, I am in the process of making a brides bouquet, 3 bridesmaids bouquets, and 3 flowergirl baskets.  With her permission ONLY, when all is done and her wedding has taken place, I will definitely be asking if I may post pictures here to show off my hard work.  :o)

NOW that we have power, I really MUST get back to working on those wedding invitations and Boss Kut Design Team projects!
Thanks for looking,
*´¨)
¸.•´¸.•*´¨) ¸.•*¨)
(¸.•´ (¸.•` ¤ Jamie *´¨)
Related Posts Plugin for WordPress, Blogger...