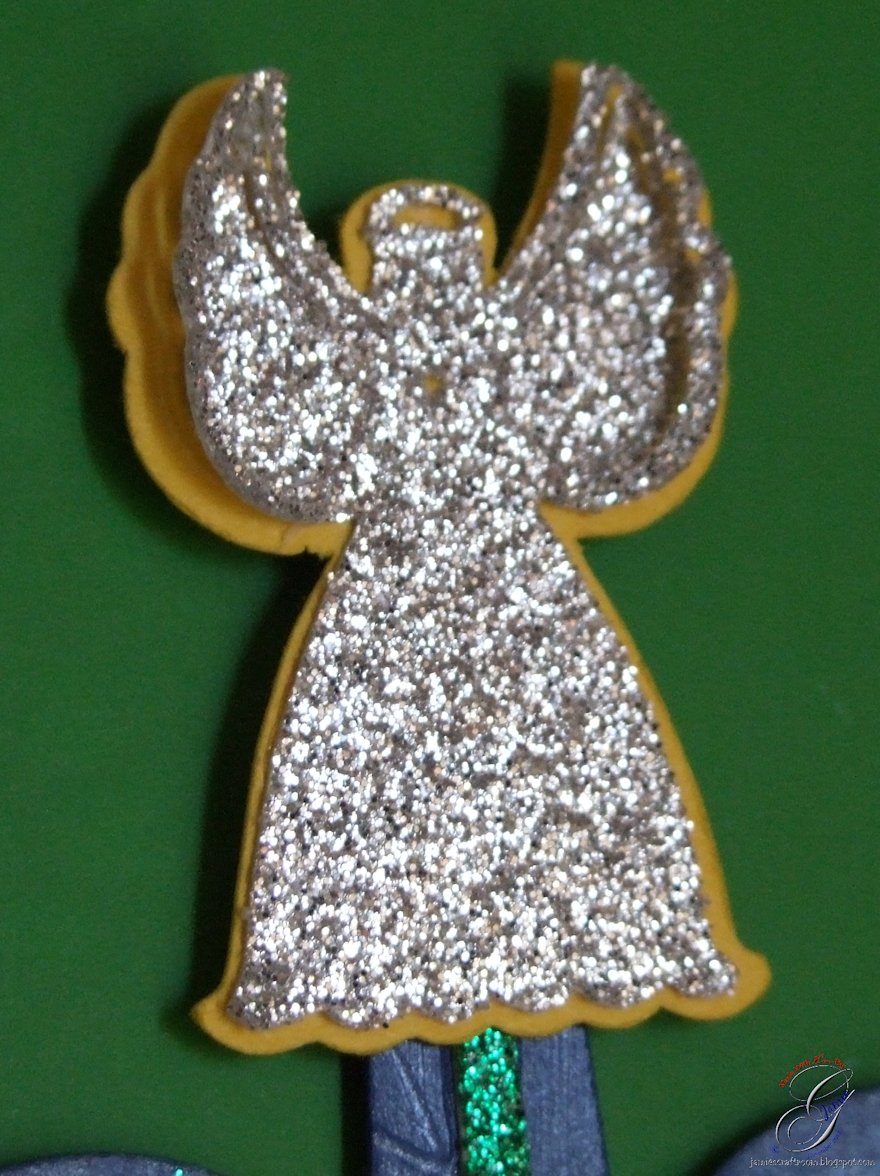
Machine Used: BossKut Gazelle
Software: Funtime Scrapbooking III
Files Used: Reindeer Cookie Holder by Judy Stark BKD 169
Materials: Heat Transfer Vinyl,
Rhinestones
For this shirt I used the reindeer from the the
Reindeer Cookie Holder by Judy Stark. I just thought that he'd look so cute peeking out of a pocket of a shirt!
I started with
heat transfer brown vinyl for the head and used the beautiful
heat transfer red glitter vinyl for the nose. For the eyes, I applied
10ss cobalt rhinestones. It was a VERY easy addition to a simple shirt that's perfect for the holiday season!!
This shirt is inspired by a pin I received a few years back and thought it would look perfect with some of that beautiful
heat transfer glitter vinyl available through Boss Kut!! Knowing that my Mom would love this shirt, I offered to make one for her too.
I started by typing out my text in Funtime. For the top portion of the sentiment "It's OK to say" I wanted it to arch. To do this I created an oval and selected both the sentiment and the oval. Then from the top tool bar I clicked on "text" and then "fit text to path." I made my selections in the next control panel that popped up and voila!! Easily done. :o) For a much better tutorial on how to do this in Funtime, be sure the
check out Jules tutorial!!
Once everything was as I wanted it, I set everything on my mat in Funtime as I wanted it to appear on the shirt. I didn't cut it this way because that would waste A LOT of material but I'm a very visual person and it helps when lining everything up on the shirt.
Make sure when you cut your design that your vinyl is face up on your mat and the transfer material is on the mat. Cut your design in reverse. Funtime makes this really easy! Once you've created your design, and you're ready to cut, go into the Cutting Control Panel. Under "2. Advance Options" there's an option to "Mirror" your image, select it. I also always select the "Weeding" option when working with vinyl.
Once everything was cut and weeded, I started at the top and ironed everything onto my shirt. With this design there was 3 different things to iron on, the top sentiment, the nativity scene, and the bottom sentiment. After the first one was ironed on, I made sure that the iron did NOT touch the vinyl that was already done. I didn't want to over heat the vinyl and cause it to melt.
Directions:
•1. Cut design in reverse Note: Weed design carefully!
•2. Prepare heat press at 300 to 350 degrees F
•3. Press for 15-20 seconds with medium pressure (note: too much pressure will result in glitter baking off of transfer)
•4. Peel backing cold
Can be applied with a hot iron. Set the iron to cotton linen setting. No steam. Place a cover sheet, kraft paper, cloth etc. over transfer and heat for 15 to 20 seconds. Turn to inside of garment and heat again for 15 to 20 seconds. Be sure you test your fabric first.
Washing instructions:
Wash cool temperature. Turn garment inside out. Tumble dry up to 140 degrees.
Thanks for looking!!
*´¨)
¸.•´¸.•*´¨) ¸.•*¨)
(¸.•´ (¸.•`
¤ Jamie*´¨)
BossKut Design Team Member
For more projects and information, please click links below:
BossKut Gazelle Blog
BossKut Company Blog