Machine Used: BossKut Gazelle
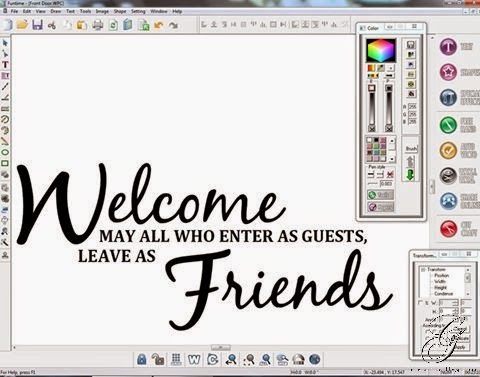
Software: Funtime Scrapbooking IV
Files Used: Bluebook Hearts
Fonts Used: Impact
With the help of the WONDERFUL ladies at the BossKut Forum I was finally able to learn how to use the intersect tool in Funtime to put words into a shape!
Now I've always wanted to be able to do this but wasn't even sure where to start. When I found this video on YouTube (Text to Heart Shape) I just knew that this could also be easily accomplished in Funtime.
After playing with it on my own for a bit and having some success I began to wonder if there was an easier way. With that, I went to BossKut Forum to seek help from the awesome and talented Terri and Jules. Now with the knowledge that they've armed me with, I'm here to share with you a tutorial on how to create these fun images! First, here's my first ever attempt at a video.

Then select FONT, click on True Type, and choose a font you'd like to work with. In this case, I used the IMPACT font. Type "FAMILY" (all in capital letters) and click OK.


For the next part it'll be easier to see the construction points of each of the letters so that we can continue to extend them past the heart. To do this, first select the C at the bottom of Funtime with the dots on it. Then on the left of the screen select the move point tool.

Then select a construction point on the "F" and extent past the heart. When I do this part, I choose the points of the letters and keep the line as straight as possible to maintain the integrity and identity of each letter.

I continue this with each letter until they have all been completed and it will look something like this when you are done:

Once you're happy with how each letter looks extended past the heart, click on the C at the bottom of Funtime to hide the construction points again.
Make sure to select everything, the heart and all the letters. At the top of the screen select, TOOLS and then INTERSECTION.

Once again, select everything and group them together. This will help in maintaining the image when/if you decide to resize it.

Make sure to save all your hard work!

I hope that was easy to follow and the that video helped. As always, if you have any additional questions, please feel free to contact me!
Thanks for looking!!
*´¨)
¸.•´¸.•*´¨) ¸.•*¨)
(¸.•´ (¸.•` ¤ Jamie*´¨)