Saturday, January 26, 2013

Love Bug Card


Machine Used: BossKut Gazelle
Software: Funtime Scrapbooking IV
Files Used: PopKut Love Bug by Judy Stark BKD 080
Materials: Cardstock, ribbon
Challenges: The Outlawz Paper ala Mode - Anything Goes

This project was complete because of a request that I to make a tutorial on how to weld letter to a card base.  After creating the tutorial and making the cut file I just had to make one!  :o)


The heart behind the love bugs I created in Funtime by using the scissor feature on a heart that was already available.

Those adorable little love bugs are available through Boss Kut Designs.  ADORABLE!!

 
Thanks for looking!!
*´¨)
¸.•´¸.•*´¨) ¸.•*¨)
(¸.•´ (¸.•` ¤ Jamie*´¨)

Friday, January 25, 2013

Welding Letters to a Shape in Funtime


Machine Used: BossKut Gazelle
Software: Funtime Scrapbooking IV

I've had a question how I welded the tops of the letters to my card.

Start by opening up a new page in Funtime.  It helps before you get started to determine the size card you want to end with.  For this tutorial we'll end with a 4.5 x 6.25" card.  With that in mind, start by creating a rectangle.  With the image selected, hit "C" on your keyboard.  This will bring up the transformation box.  Scroll down to Condense and change the size of your rectangle.


We'll used this as a guidance as we're creating our letters to weld to the bottom.

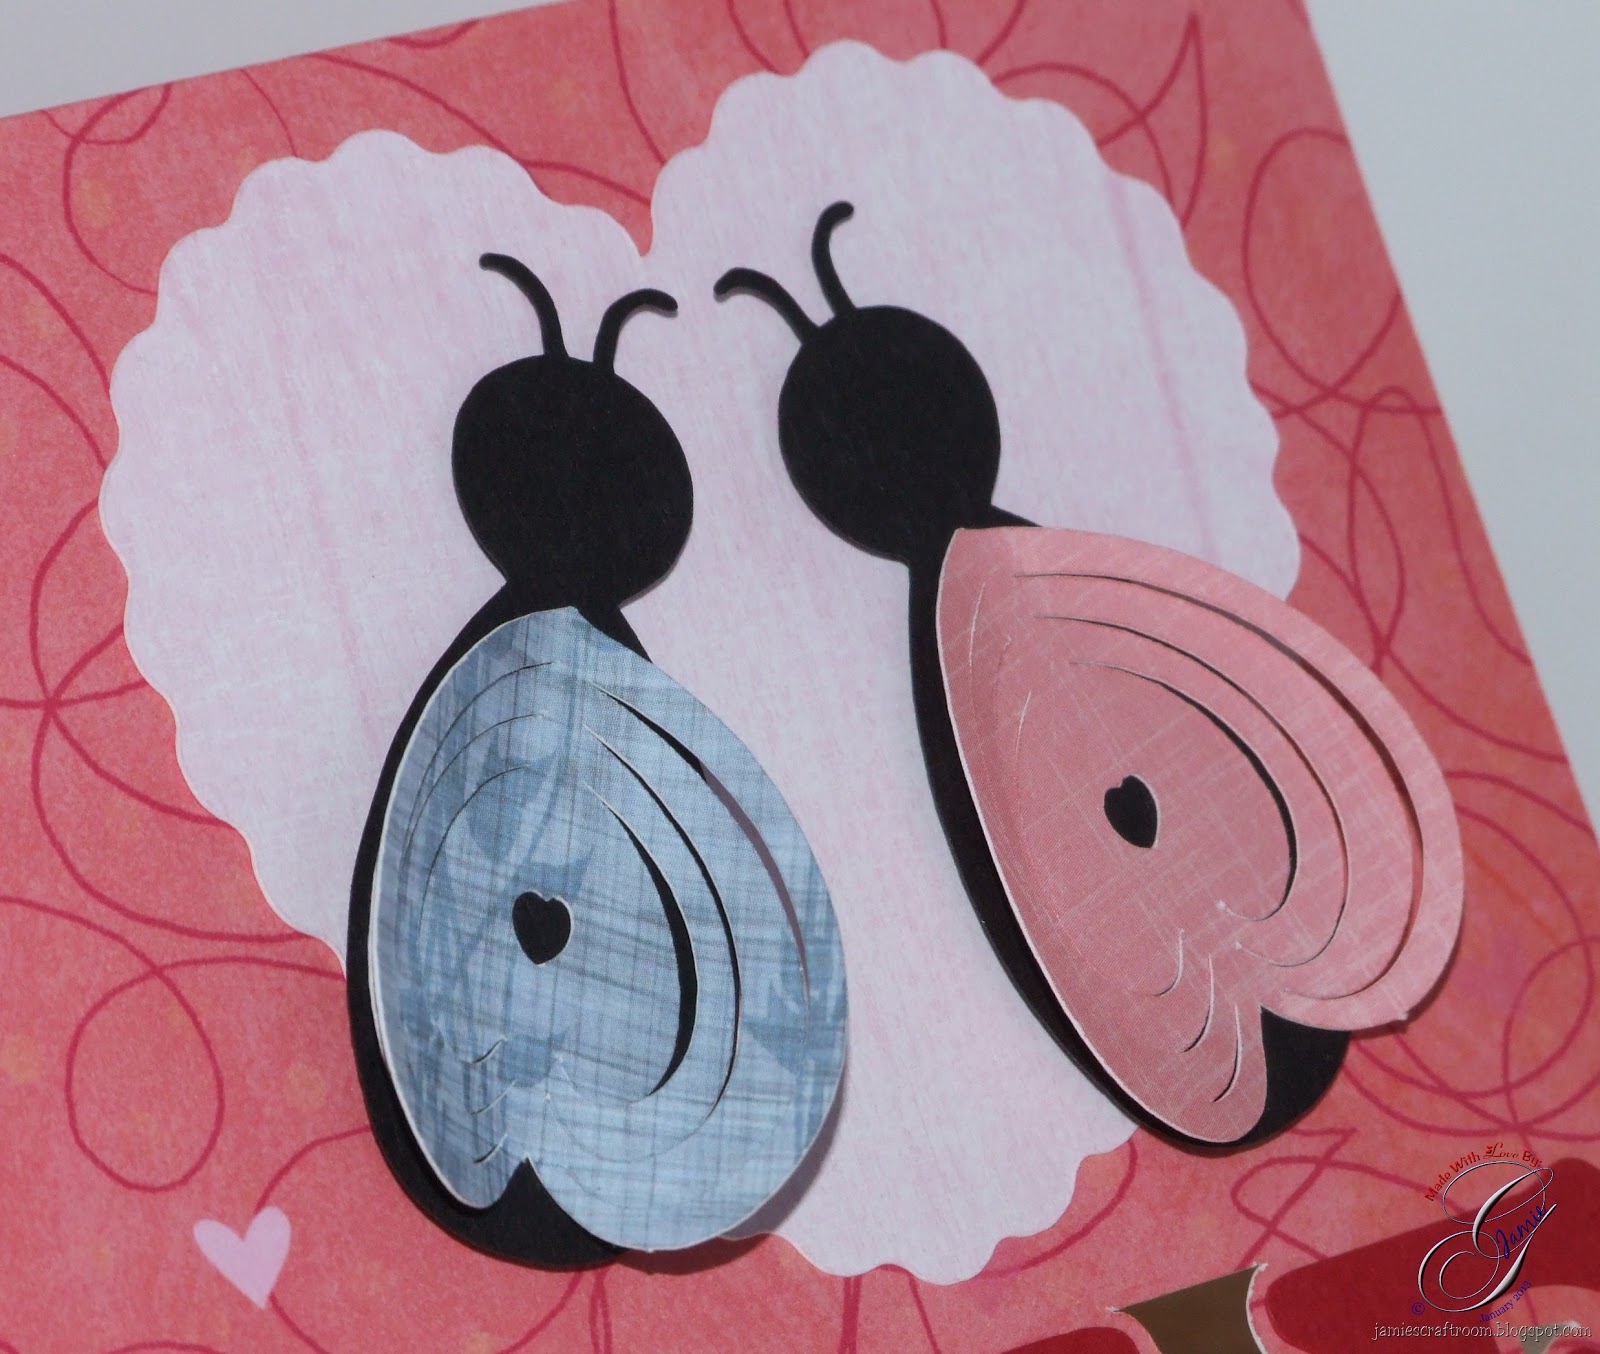
Since it's so close to Valentine's Day, I'm going to use the word "LOVE" to weld to my card base.  In Funtime, click on the Text button.  I selected the font Windsor Bold, available in the Funtime font selections.  Make sure to use all capital letters.  I set the height of my font to 1" but it doesn't really matter at this point because we'll need to see how it lines up with our rectangle.  We can always go back and adjust where we need to.  Hit OK.


Looking at the letters and our rectangle it looks like 1" is a good size.  I based this on it's just about the same width.  There are 2 things to consider here: Is it OK of the letters are touching a bit after you create an outline?  Or would you prefer each letter to stand independently?  Since the original card I created has the letters independent of one another we'll go with that.
 
Double click on "LOVE" and this will bring up text creation box again with the word "LOVE" in it.  Check the box Edit spacing after creation.  Click OK.

 
Click the up arrow to change the spacing, left to right, once.  That changed my spacing to 4.792.  At this point it's not too long for our card but we'll work with that after we've created the outline.

Now create another copy of your word by selecting it, copy it, and paste it.  Funtime will automatically place the second in the lower left corner of your mat.  Put it off to the side for now.
 
NOTE : Please don't get to hung up on the numbers if they aren't exactly as mine.  The procedure is the same.  Keep playing with it if it's not giving you what you want.  Or PLEASE ask questions, either send me a message or you can visit the Boss Kut Forum!!  There's always LOTS of help.  :o)
 
With "LOVE" selected, click on the Special Effects button on the right of your screen at the top.  Click on Outline, then Advanced.

 
In the transformation box that pops up, change the Thickness to 0.05, select outline, and then click on the check mark button.  Go ahead and close that box.

 
With the letters done, let's resize them so that they'll fit on the width of our card.  Select both the outline and the original letters.  In the transformation box, select Width, enter in 6.25, and click Apply.  Make sure you've selected Width and NOT Condense.  Selecting the width will maintain the ratio aspect of the word.

Make sure to change the width of your other word as well!!


Time for a little math.  After you've changed the width of your letters, make a note of the height.  You are going to need to subtract this number from 9.  Why?!  Because that's the height of our rectangle and to maintain the end card size we need to make the rectangle smaller to accomodate the letters.
 
My "LOVE" turned out to be 1.52.  9 minus 1.52 equals 7.48.  Now I'm going to select the rectangle and change the height.  Select the rectangle and in the transformation box click on Condense, change the height to 7.48 (or whatever number you worked out).
 
Select your word again and move it till it's just barely touching the bottom of your rectangle.
 
Select both the rectangle and your word.  Click on the Justification button on the left side of your screen.  At the top a row of justification options will appear, click on the Center one.  This lines up your rectangle and the letters.

 
Before we weld them together turn on the WireFrame by click on the button at the bottom of your screen with the big "W".  This will make it easier to see how much is overlapping between the rectangle and the letters.
 
Now zoom into the word by selecting the word and the magnifine glass at the bottom.  Once you've zoomed in you will have a close up and will be able to see how much is overlapping clearly.  You don't need much overlapping but you'll want enough that the letters won't be too flimsy on the card.  I use the up and down arrows on my keyboard to move the letters.  This will keep the justification of the words centered with the rectangle.

 Once you're happy with the placement of everything click on the Zoom All button at the bottom.
 
Let's get to welding!!  Select your rectangle and the letters and then click on the Weld shape together button on the left of your screen.

 
Almost done!  Because we moved the letters up a bit our card is no longer 9 in height.  There won't be much of a difference and if you wanted to leave it like that you can.  I'm going to go ahead and change it really quick.
 
Select the image, and once again in the transformation box I'm going to select Condense.  Change the height to 9.

One last step, select your image and at the top of your screen select Shape, then Break all.  This will release your original letters from the rest of it.  Select each of the individual letters (careful to select the center of "O" for example) and delete.


You have the second copy of the letters that you made in the beginning for layering.  :o)


If there are ANY questions, please feel free to ask!  I will update as I need and add anything that would be helpful for you to learn your way around Funtime.  :o)  Happy crafting!!

Thanks for looking!!
*´¨)
¸.•´¸.•*´¨) ¸.•*¨)
(¸.•´ (¸.•` ¤ Jamie*´¨)

Single Sheet Bag and Paper Bow


Machine Used: BossKut Gazelle
Software: Funtime Scrapbooking IV
Files Used: Paper Bow (available in the Boss Kut Forum)
Materials: Cardstock, ribbon, pearl heart brad
Challenges: The Outlawz Twisted Thursday - 2 of the following: Designer Paper, Brads, and Embossing

I was inspired to create this project based on a tutorial I found here.  Here are the measurements for the score lines in her tutorial:

 
I found that you won't necessarily need the 3/4" and the 10 1/4" score lines.  It depends on how you want you are going to embellish your bag.
 
The bow is a cut file that I created in my Funtime software and made available in the Boss Kut Forum.  I am currently working on setting up my blog to be able to offer templates and cut files for those interested.  Hopefully I'll have that up and running soon!

Here's a close up of the bow.  Although I did use a little adhesive to the bow to attach to the bag, I also used the heart shape brad.


Here's a view of the bag open.  I ended up using 2 velcro but I think that one would have worked just fine as well!

  
Thanks for looking!!
*´¨)
¸.•´¸.•*´¨) ¸.•*¨)
(¸.•´ (¸.•` ¤ Jamie*´¨)

Sunday, January 20, 2013

Paper Bows


Machine Used: BossKut Gazelle
Software: Funtime Scrapbooking IV
Files Used: Paper Bow (available in the Boss Kut Forum)
Materials: Cardstock

This was a project that was started because I have seen many people who have created bows out of paper.  I LOVE the look!  After reading tutorials and watching YouTube videos I decided that I wanted create my own cut file in order to achieve the look that I wanted.


I created 2 different sizes so that I could layer them and also added 2 different way to add the ties.  In one cut file you get 6 different way to create a bow, not including the different ways you can change the color of the cardstock.  :o)


For this free file, please visit the Boss Kut Forum!

Thanks for looking!!
*´¨)
¸.•´¸.•*´¨) ¸.•*¨)
(¸.•´ (¸.•` ¤ Jamie*´¨)

Saturday, January 19, 2013

Etched Candle Holders


Machine Used: BossKut Gazelle
Software: Funtime Scrapbooking III
Files Used: Great Outdoor Tree by Olivia Myers 0974, Snowflake available in Funtime
Materials: Armour Etch (glass etching cream), repositionable vinyl,

I love the way that a candle can add that warm feeling to a house and I love having them on in my house.  Unfortunately, with a 4 and 2 year-old in the house that's not the wisest of ideas.  So thanks to those cute little electronic tea lights I can have some of that glow around the house without the fear of my babies getting hurt.

One evening I was watching my son with one of my candle holders and I noticed how plain it was . . . PROJECT IDEA!!  Opening the tree in Funtime, I copied it so that I had 3 of them and then sized them each differently.  I cut out several of each size in repositionable vinyl and placed them around the holder.  I just thought that these adorable trees looked perfect with the rocks in the holder and a bit of the tea light flickering in the background as a camp fire would.


I applied a thick layer of the etching cream to the trees and then used a q-tip to apply dots to the top edge.  Personally, I've found that if I leave the cream on for about 7-8 minutes and then move the cream around, sometimes applying more and then leaving it on again for another 7-8 minutes I get the best even etch.  Don't be afraid to play around with it, you may find something that works better for you!
 

Also, don't forget to check out the images that you have available in the blue book in Funtime!  There's so many and that's where I found this beautiful snowflake. 

 
I haven't looked at plain glass the same way since I first tried etching.  Once you start crafting and find a technique you like, it's really hard NOT to enhance them to your liking!  :o)
 
Thanks for looking!!
*´¨)
¸.•´¸.•*´¨) ¸.•*¨)
(¸.•´ (¸.•` ¤ Jamie*´¨)
BossKut Design Team Member

For more projects and information, please click links below:
BossKut Gazelle Blog
BossKut Company Blog

Tuesday, January 15, 2013

Come Let Us Adore Him Plate


Machine Used: BossKut Gazelle and Cricut Expression
Software: Funtime Scrapbooking III
Files Used: Nativity on the cartridge When It's Cold Outside
Materials: Repositionable vinyl

For this project I dusted off the ole Cricut Expression.  I just haven't needed it since I purchase my Gazelle.  The only reason I got it out this time was because of a specific image on a cartridge that I've been wanting to use.

Once I had the image and the shadow of the image cut with my Cricut, it was time to get back on my computer and open up Funtime.  I typed out the text, fit it to the path of a circle so that I could get the arch.

Thanks for looking!!
*´¨)
¸.•´¸.•*´¨) ¸.•*¨)
(¸.•´ (¸.•` ¤ Jamie*´¨)

Sunday, January 13, 2013

Let It Snow Wreath


Machine Used: BossKut Gazelle
Software: Funtime Scrapbooking III
Files Used: Snowflakes 0598, Snowflake by Phyllis Parkins 0875, Snowflake II by Phyllis Parkins 0876
Materials: Wreath, Glitter Paper, push pins, rhinestones, fishing line

Oh the weather outside is frightful
But the fire is so delightful
And since we've no place to go
Let It Snow, Let It Snow, Let It Snow

So, maybe this is considered a Christmas song but I personally feel that it's more of a seasonal song and should be played at least until February.  :o)  Can't help, LOVE this song and I LOVE the snow!  Weird, maybe, but I've come to terms with that and I'm definitely OK with it.

There's just something about the fresh fallen snow when it's really cold outside and the sun is shining.  I just love the when the snow sparkles, I imagine you can almost see each individual snowflake.  The glitter paper that Boss Kut sells is perfect to achieve this look and pictures really don't do it justice.  The glitter doesn't flake off, the Gazelle cuts it easily, and beautifully!!

I recently had the opportunity to work with another brand of glitter paper and was left disappointed.  I swear I was covered in as much of the glitter as the project was!  100% convinced me to stick with Boss Kut glitter paper.

Onto this project!  I started with a white Styrofoam wreath and added some snow to it with Mod Podge.  I could have easily just kept the wreath as was but I wanted some sparkle and added dimension to it.

I then cut out several different shapes of the Snowflakes 0598, Snowflake by Phyllis Parkins 0875, and Snowflake II by Phyllis Parkins 0876 in 3 different colors of glitter paper.

Then I typed out "LET," "IT," and "SNOW" in the Funtime font Cooper Black.  For the word "SNOW" I removed the "O" and just added spaces so that I could add the snowflake.  With all the words, I outlined them twice so that I could add all the colors to my sentiment.


Using fishing line, I hung the sentiment and a couple of the snowflakes to the center of my wreath.

 
With the snowflakes on the wreath, I simply used push pins to attach them to the Styrofoam.  I really like how easy using the push pins are and it make it simple to rearrange it until I got it just as I liked it.
 

Thanks for looking!!
*´¨)
¸.•´¸.•*´¨) ¸.•*¨)
(¸.•´ (¸.•` ¤ Jamie*´¨)
BossKut Design Team Member

For more projects and information, please click links below:
BossKut Gazelle Blog
BossKut Company Blog
Related Posts Plugin for WordPress, Blogger...